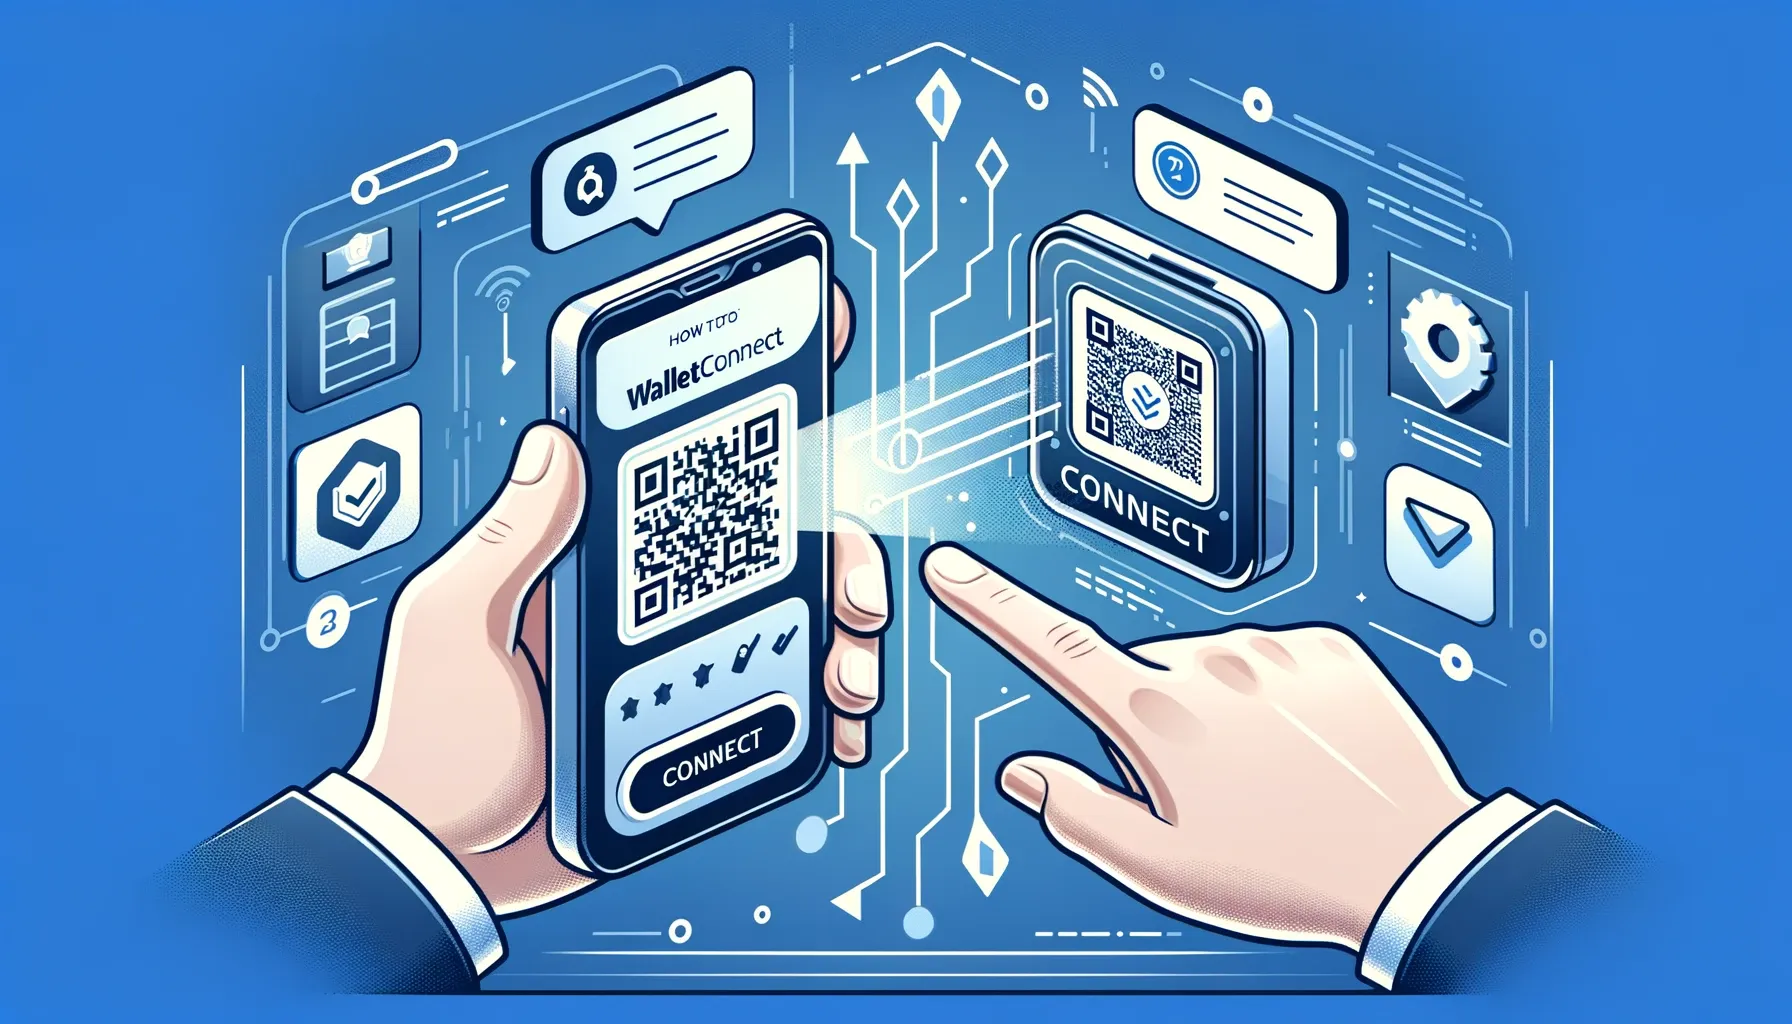
How to Use WalletConnect for NFT Ticketing?
Here is a thorough guide to using WalletConnect for NFT ticketing. It is more important than ever to secure and manage your digital assets in a safe and effective way as the digital landscape changes. A reliable solution is provided by WalletConnect, which allows your mobile wallets and decentralized apps (dApps), such as NFT ticketing platforms, to connect seamlessly.
If you're new to blockchain technology or want to improve your digital ticketing experience, this guide will show you how to use WalletConnect step-by-step. From configuring your wallet to handling your NFT tickets, we'll make sure you have all the knowledge you need to confidently use this cutting-edge technology.
WalletConnect's features and advantages will be covered in our tutorial, along with helpful illustrations to help you navigate each step. Let's begin by going over the main functions of WalletConnect and how to use this technology to ensure a safe and easy NFT ticketing process.
Setting Up Your Wallet
Choose a Compatible Wallet
Start by selecting a mobile wallet that supports WalletConnect, such as MetaMask or Trust Wallet.
Install the Wallet
Download and install your chosen wallet from the App Store or Google Play.
Create or Import a Wallet
Follow the wallet’s instructions to create a new wallet or import an existing one using a seed phrase.
Connecting to a NFT Ticketing Platform
Open Your NFT Ticketing Platform
Go to the Belong website
Locate WalletConnect Option
Find the "Connect Wallet" option and select WalletConnect.
Scan the QR Code
Open your wallet app, find the WalletConnect feature, and scan the QR code displayed on the ticketing platform.
Authorize the Connection
Confirm the connection on your mobile wallet to link it with the Belong.
Purchasing NFT Tickets
Browse Available Tickets
Navigate through the Belong platform to find the event and tickets you wish to purchase.
Select Your Tickets
Choose the Pass of tickets and any specific if available.
Confirm Transaction
Verify the transaction details on your mobile wallet and confirm to complete the purchase.
Check Your Wallet
The NFT tickets should now appear in your wallet.
Managing Your NFT Tickets
View Your Tickets
Access your tickets directly from your wallet or through the ticketing platform’s interface.
Transfer Tickets if Needed
If you wish to transfer tickets, select the transfer option within your wallet, enter the recipient’s address, and confirm the transaction.
Prepare for the Event
Ensure your mobile device is charged and ready to present the NFT tickets at the event.
Additional Tips
- Don't let your wallet get lost. Always use extra security features like biometric locks and keep your seed phrase private.
- Provide regular updates. For best performance and security, make sure the dApp and your wallet are up to date.
- Check all transactions. Before confirming any transfers, double-check wallet addresses and transaction details to prevent mistakes or fraud.
This guide guarantees that even individuals who are unfamiliar with blockchain technology can utilize WalletConnect with assurance for a safe and easy NFT ticketing process.